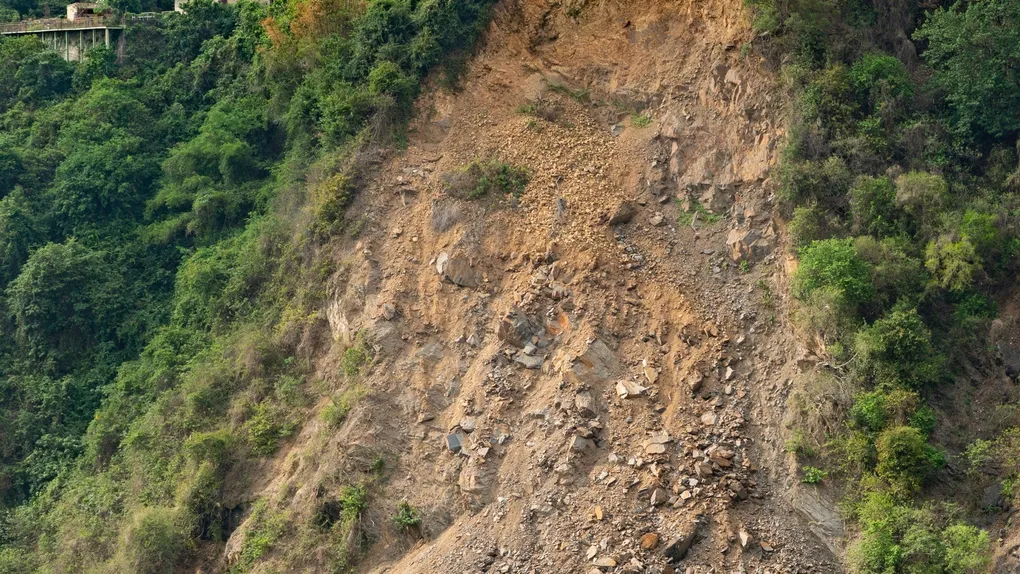
Prepping for a landslide (Part 4): Structural defenses
The engineer husband walked his wife past a failed retaining wall in their town and diagnosed it in one look: no gravel behind it, no pipe at the bottom, no weep holes in the face. “That wall did not fail,” he said. “It drowned. Trapped water behind it weighs more than the soil, and when winter froze it, the wall was caught between two hydraulic rams.” He was not anti-concrete. He was anti-drowned-concrete, which is a different engineering opinion entirely, and the difference shows up in what survives a wet decade.
While I love solving problems with roots and soil, my husband (the engineer) loves solving them with concrete and steel. And he has a point: sometimes, nature is simply too violent to be tamed by a blackberry bush. If you live at the bottom of a steep chute or have a cut-bank right behind your kitchen, you need more than a root system, you need a shield.
However, building a wall to stop a mountain is not as simple as stacking rocks. A wall built incorrectly is actually more dangerous than no wall at all, if you build a solid dam against a mudflow, you are creating a pressure bomb that will eventually burst, sending concrete shrapnel through your living room. This is Part 4 of the landslide series.
Disclaimer: The information provided in this article is for general informational and educational purposes only. It is not intended as, and should not be considered, engineering advice. Construction of retaining walls often requires permits and professional engineering approvals. Always consult local building codes.
The Readiness Audit
Do your walls drain, and does your deflection plan exist?
- Green: Your retaining walls have visible weep holes, gravel backfill, and a lean-back batter, and you know your chute and your wall plan.
- Yellow: You have walls but have never checked for drainage.
- Red: You have no walls and no plan, and the hill has never been challenged.
If you are Yellow or Red, execute Phase 1 immediately.
Phase 1: Retaining Walls (Holding the Earth Back)
Goal: Build a wall that drains instead of drowns.
A retaining wall is designed to turn a slope into a step, physically holding the soil in place.
The engineering flaw (hydrostatic pressure): wet soil is heavy, and water trapped behind a wall exerts massive horizontal pressure, the “hydrostatic hammer.” The fix is drainage, drainage, drainage:
- Backfill: never backfill a wall with dirt. Fill the space behind the wall (at least 12 inches) with jagged gravel to create a “water elevator” that lets rain drop quickly to the bottom.
- The French drain: place a perforated pipe at the bottom of that gravel column to carry the water away.
- Weep holes: install pipes through the face of the wall every 4 to 6 feet as the emergency release valve.
The batter (lean back): a wall shouldn’t stand perfectly straight, it should lean back into the hill. This lean is called the “batter,” and a standard ratio is about 1 inch of lean for every 1 foot of height. It uses gravity to fight gravity.
The Takeaway: A retaining wall is a drainage system with a wall attached: gravel column, perforated pipe, weep holes, and one inch of lean back per foot of height.
Phase 2: The Gabion Wall (The Homesteader’s Choice)
Goal: Stop the soil without fighting the water.
If you don’t want to pour concrete, use gabions, heavy-duty galvanized steel wire cages filled with rocks. They are “permeable,” so they don’t fight the water, they let it pass.
- Drainage: because it’s just rocks, water flows right through, no complex pipe systems needed.
- Flexibility: if the earth moves, the basket shifts slightly but doesn’t crack like concrete.
- DIY friendly: you buy the cages flat-packed, set them up, and fill them with rocks found on your property. Labor-intensive but technically simple.
The Takeaway: Gabions win by not playing the game concrete loses: water passes through, the basket flexes, and the rocks on your own property are the fill.
Phase 3: Deflection Walls (Steering the Flow)
Goal: Let the mountain pass, matador-style.
If you live in a valley or below a “chute” (a ravine), you cannot stop the slide, a mudflow can move at 30 mph and weigh thousands of tons. You have to act like a matador and let it pass.
- The shape: build a strong wall shaped like the prow of a ship (the point facing uphill) or a single angled, heavily reinforced wall.
- The function: when the mud hits the wall, it is diverted around your house to the sides, flowing past you to lower ground.
- The material: reinforced concrete or heavy timber piles.
- The warning: you must ensure the diverted flow doesn’t hit your neighbor’s house, it must flow to a safe “runout zone.”
The Takeaway: Thirty miles per hour and thousands of tons means you do not stop the flow, you split it, and the prow points uphill while the runout stays off the neighbor.
Phase 4: Emergency Hardening (The K-Rail)
Goal: Build a defense in days, not months.
What if a wildfire burned the hill above you last month, and now a mega-storm is coming? You don’t have time to build a wall. K-rails (Jersey barriers), the heavy concrete dividers you see on highways, can be placed to create an instant deflection barrier. Local public works departments will sometimes place these to protect neighborhoods, or you can rent and place them yourself with heavy equipment. Place sandbags at the joints to prevent mud from squirting through the gaps.
The Takeaway: A burned hillside above you plus a storm forecast is a K-rail emergency, and the joints get sandbags or the barrier leaks like a sieve.
The Essential Kit Checklist
- The weep check: inspect your existing retaining walls, can you see drain holes, and are they clogged? Clear them with a screwdriver.
- The slope audit: look for a natural “chute” or valley aimed at your back door, this is where a deflection wall would go.
- The material source: locate a local quarry that sells “rip rap” (large jagged rocks) for filling gabion baskets.
- The legal check: call your building department and ask the maximum wall height before a permit is required (usually 3 or 4 feet).
- The plan: if you have a basement walk-out, plan where you would stack sandbags to divert water away from the door.
Scenario Planner (Contingencies)
“My existing wall is bulging.” The trap: watching it another winter. The fix: the weep audit first, clogged drain holes are the most common cause, and a screwdriver can confirm it today. If the drainage is clear and the bulge grows, stop parking below it and bring in a geotechnical engineer, because a drowning wall gives a few years of warnings before it quits.
“There’s no room for a deflection wall.” The trap: assuming protection requires construction you cannot fit. The fix: the layered shield, even a short prow-shaped wall plus graded ground can split a shallow flow around the house, and K-rails placed for the season buy time while the permanent plan is engineered.
Next Steps
- Screwdriver-test your weep holes this weekend. Clogged holes are a drowned wall waiting for winter, and clearing them takes minutes.
- Call the building department about wall-height limits before any project, since the permit line is usually 3 or 4 feet.
- Read Part 5: The two-minute warning next, for the sensory cues that tell you when all this engineering is about to be tested, and what to do with the minutes you are given.
Originally adapted from public USGS and FHWA debris-flow guidance (public domain).