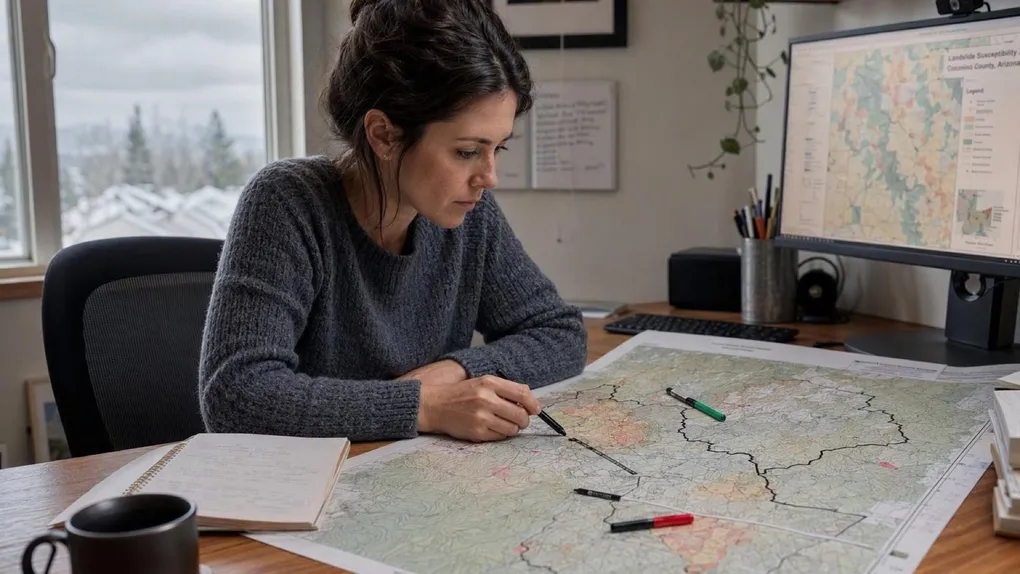
Know Your Risks Before the Storm Does
Your county has a flood map. Your state has a hurricane history. Your neighborhood has a gas main running under the street. None of these things announce themselves when you move in, and none of them wait until you are ready. FEMA’s citizen guide puts risk assessment first for a reason: every other preparedness decision you make, from kits to insurance, is a guess until you know what actually threatens your household.
Disclaimer: The information provided in this article is for general informational and educational purposes only. It is not intended as, and should not be considered, legal, medical, or financial advice. Always follow the instructions of local authorities and emergency management officials.
The Readiness Audit
Do you know which hazards are prevalent where you live?
- Green: You have checked your state and local emergency management websites, signed up for community alerts, and talked to neighbors about what they prepare for.
- Yellow: You have a rough idea of your risks but have never written them down or signed up for alerts.
- Red: You could not name the top three hazards for your area.
If you are Yellow or Red, execute Phase 1 immediately.
Phase 1: Determine Your Risks
Goal: Replace guesses with named threats.
Risk is the combination of an event’s possibility and your vulnerability to it. FEMA’s guide gives three concrete moves to map yours. First, visit your state and local government emergency management websites to learn the common disaster types for your area and whether community disaster plans exist. Second, sign up for your community’s alert and warning systems, which notify members of impending disasters and of actions to take afterward. Third, talk to your friends and neighbors to understand the emergencies they prepare for and the actions they take.
The Takeaway: Risk assessment is three phone calls and two websites, not a research project. The people who skip it plan for the wrong disaster, and a plan for the wrong disaster is the same as no plan.
Phase 2: Basic Protective Actions for All Disasters
Goal: Learn the moves that work everywhere.
Some protections apply no matter what hits. The guide lists five: have the skills to assess a situation quickly and take effective action to protect yourself, get involved with preparedness training and volunteer programs, put together an emergency fund of cash and supplies, decrease the potential impacts of hazards, and prepare a family disaster plan and practice it.
The guide adds two inclusion rules that most households skip. Plan for the needs of children, the elderly, and people with disabilities or access and functional needs. And plan for pets and service animals, which FEMA notes are frequently overlooked in disaster planning. Transportation belongs in the plan too, since a disaster can close your normal routes.
The Takeaway: The five universal actions are the floor, not the ceiling. The inclusion items are not nice-to-haves, they are the difference between a plan and a plan for someone.
Phase 3: When It Happens Without Warning
Goal: Know your first two moves.
Many disasters arrive with little or no warning, and FEMA’s guidance is to be ready to act immediately, often before instructions come from authorities. The first move is to assess the situation: take a few seconds to identify the type of event and whether immediate danger exists, like damaged buildings or downed power lines. The goal is to be safe and stay out of harm’s way. The second move is to decide to stay or change location. Inside during a tornado, you stay put. Active shooter outside, you may run. The hazard determines the move, which is why the quick-reference in the next post pairs every hazard with its own actions.
The Takeaway: Assess, then stay or go. Practicing that two-beat decision before anything happens is what makes it work when seconds matter.
The Essential Kit Checklist
- The Sources: State and local emergency management websites bookmarked on every adult’s phone.
- The Alerts: Community alert and warning systems subscribed for every household member.
- The Fund: An emergency fund of cash and supplies started, however small.
- The Inclusion Check: Written notes on children, elderly, disability, and pet needs in your household.
- The Routes: Normal transportation routes mapped with one backup each.
Scenario Planner (Contingencies)
“Nothing like that ever happens here.” The trap: FEMA opens the guide by stating every U.S. state and territory is at risk of disasters. The fix: pull up your local emergency management website tonight and read the hazard list yourself. The list is shorter than the anxiety, and acting on it beats arguing with it.
“I signed up for alerts but they are all noise.” The trap: alert fatigue leading you to mute the channel right before the real event. The fix: keep alerts on, and make sure everyone in the household receives them as part of your communication plan, which is the next post’s subject.
Next Steps
- Re-run the Readiness Audit. Scroll back to the top, answer the three questions honestly, and close whichever gap they reveal before you close this tab.
- Print the checklist. The kit list above only works if it exists when the power is out, so paper beats apps here.
- Fold it into the family plan. A prepared household beats prepared person, so put these steps in front of everyone who shares your roof.
Next: Read Protective Actions for Every Hazard for the guide’s 17-hazard quick reference.
Adapted from Federal Emergency Management Agency - Are You Ready? An In-Depth Guide to Citizen Preparedness (public domain). Read the original: Are You Ready? An In-Depth Guide to Citizen Preparedness.