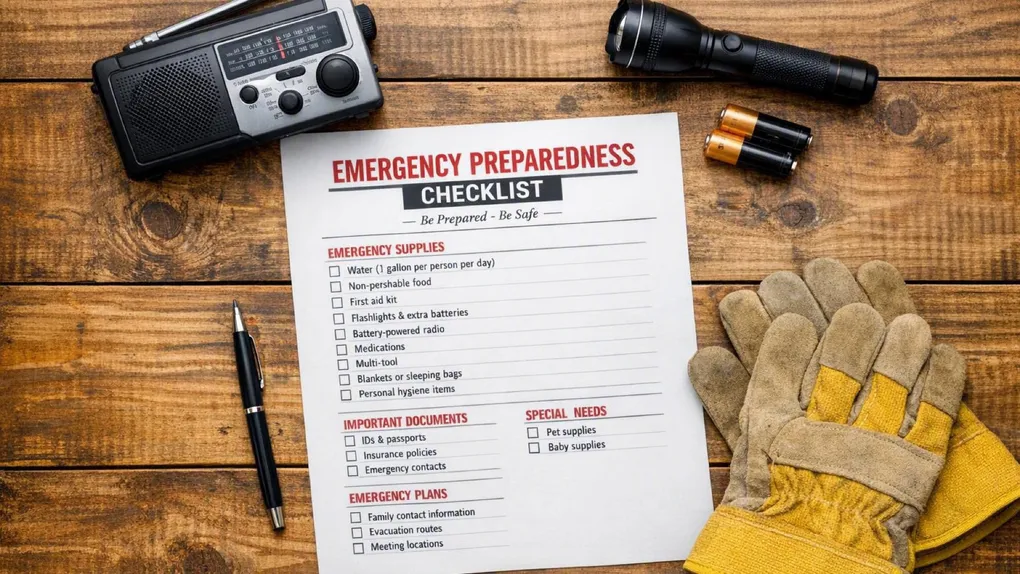
Prepping for an earthquake: The survival checklist
The family that rode out the big shaker without an injury had not been lucky. Their bookshelves were bolted, their water heater was double-strapped, and their six-year-old had practiced Drop, Cover, Hold On so many times that when the floor started pitching, she dropped under the dining table and called for her parents to hold her hand. No one ran. No one bled. The whole crisis was executed off a script they had rehearsed until it was boring, and boring is exactly what you want a disaster to be.
Over the last six articles, we have dissected the unique threat of earthquakes. Unlike hurricanes that give days of warning, or droughts that creep in over months, an earthquake is a “no-notice” event. It transforms your reality in seconds. The difference between a story of survival and a statistic is often defined by what you did before the shaking started and how you reacted in the first 10 seconds.
In the chaos of a seismic event, panic erases IQ. You will not remember the finer points of structural engineering or the nuances of gas valve mechanics. You need a script. You need muscle memory.
This Master Checklist is your external brain. It consolidates the entire Earthquake Preparedness Series into a linear, chronological protocol. Print this out. Walk through your home with it. It is the blueprint that ensures your home doesn’t collapse, your water heater doesn’t burn the house down, and your family knows exactly how to survive the ride.
Disclaimer: The information provided in this article is for general informational and educational purposes only. It is not intended as, and should not be considered, legal, medical, or architectural advice. Seismic risks vary significantly by region and building type. Always consult with structural engineers and local emergency officials.
Phase 1: Blue Sky Readiness (Structural & Interior Prep)
Goal: Harden the target before the ground moves.
The “Missile” Audit (Non-Structural)
- Tall furniture: anchor bookshelves, china cabinets, and armoires to wall studs with L-brackets or straps.
- Water heater: install double metal strapping (top and bottom third) secured to wall studs.
- Electronics: secure flat-screen TVs with anti-tip straps.
- Kitchen: install positive-latching catches on upper cabinet doors.
- Art/mirrors: use closed-loop hooks. Remove heavy items from above beds.
- Gallery: apply museum wax to collectibles and vases on shelves.
The Skeleton (Structural)
- Inspection: check the crawlspace. Is the wood sill plate bolted to the concrete?
- Retrofit: if needed, hire a contractor to install anchor bolts and shear wall bracing (plywood) on cripple walls.
- Chimney: inspect brick chimneys for stability. Reinforce or remove if hazardous.
The Kits
- Under-bed kit: tie a bag to every bed frame containing sturdy shoes (with socks tucked inside), an LED headlamp, leather gloves, and a whistle.
- Utility tools: zip-tie a non-sparking wrench to the gas meter.
Phase 2: The Event (Reflex Action)
Goal: Survive the shaking without injury.
The Protocol
- Drop: drop to hands and knees immediately (before you are thrown).
- Cover: crawl under a sturdy table or desk. Protect head/neck.
- Hold on: grip the table leg. Move with it if it slides.
Situational Scripts
- In bed: stay there. Lie face down. Cover head with pillow. Hold headboard.
- In car: pull over (away from overpasses/wires). Set parking brake. Stay inside.
- Coastal: if shaking lasts 20+ seconds or knocks you down, assume tsunami. Move to high ground immediately after shaking stops.
Phase 3: The Golden Hour (Immediate Aftermath)
Goal: Prevent fire, flood, and injury.
Personal Safety
- Gear up: put on shoes and headlamp before walking on the floor.
- Check: check self and family for injuries. Use first aid kit if needed.
Infrastructure Control
- Gas check: smell/listen for leaks.
- If leaking: turn off valve (perpendicular to pipe). Leave house.
- If no leak: leave it ON.
- Water shutoff: turn off main water valve to trap clean water and prevent flooding.
- Electricity: shut off main breaker if you see sparks or smell burning insulation.
Phase 4: The Recovery (Communication & Safety)
Goal: Re-establish contact and assess habitability.
The Connection
- Text, don’t talk: send short SMS messages. Voice lines will be jammed.
- Out-of-area: contact your designated out-of-state relative to report safety.
- Radio: turn on battery-operated/hand-crank radio for news.
The Re-Entry Rule
- Inspect: check chimney, foundation, and gas before entering.
- Aftershocks: do not sleep in a compromised house during the first night of heavy aftershocks.
The Print Protocol
- Print this post: the phone may be dead, broken, or jammed exactly when you need this page.
- Walk the house: use this checklist to physically walk every room and the crawlspace once a year.
- Drill twice a year: run the Drop, Cover, Hold On drill and the wake-up drill with the whole family.
Next Steps
- Print the Earthquake Survival Checklist you are reading now and keep it with the emergency bin.
- Do the annual house walk: one crawlspace look, one valve test, one drill rehearsal. That is the whole blue-sky maintenance load.
- Start the series from the beginning with Part 1: Securing your home if any line here made you pause, because the reasoning behind every box lives in the six parts.