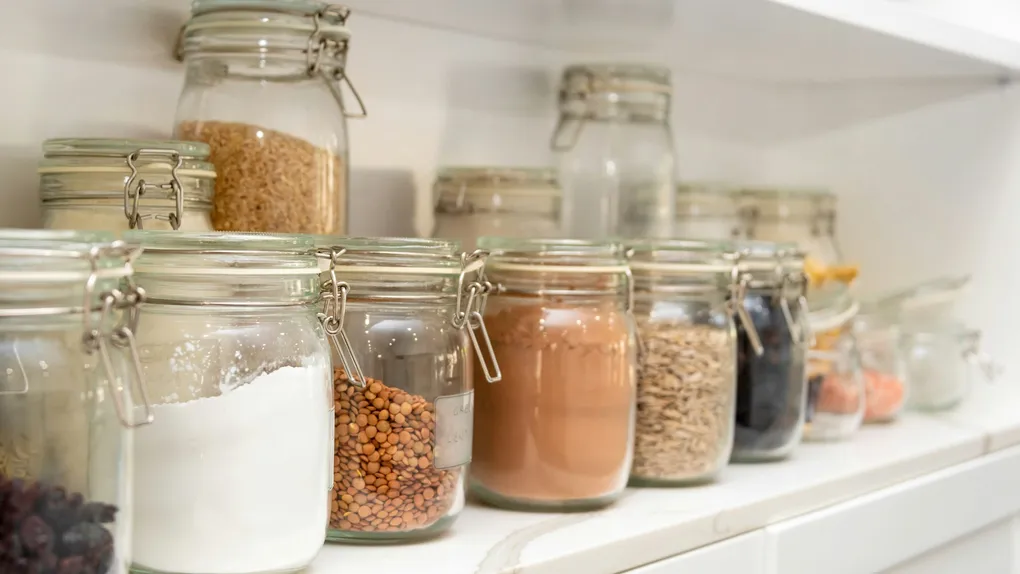
Simple preparedness at home (Part 1): Prepping on a shoestring
After a disaster, local responders will be on the scene, but they cannot reach everyone right away. FEMA’s community preparedness handouts say you may need to manage on your own for at least 3 days. That sounds like a big shopping list. It does not have to be. Many of the things your family needs are already in your home.
This part of the series turns building a kit into a family scavenger hunt, using FEMA’s handout Preparedness on a Shoestring, with numbers updated from Ready.gov.
Disclaimer: This is general preparedness information. Follow local officials during an emergency and call 911 if someone is in danger.
The Readiness Audit
- Green: Your kit is in one container, everyone knows where it is and you checked dates in the last 6 months.
- Yellow: You have supplies, but they are spread around the house.
- Red: You plan to buy everything when a storm is forecast.
If you are Yellow or Red, start Phase 1.
Phase 1: Hold a Family Scavenger Hunt
Goal: Gather a kit from what you already own.
Pick a container: a large bucket, a backpack, a plastic bin or even a pillowcase. Then give each family member part of the list below and send them to find the items. Kids enjoy it, and everyone learns where the supplies are.
The Takeaway: The cheapest kit is the one already in your cupboards.
Phase 2: Water
Goal: Have enough safe water for drinking and sanitation.
- How much: At least one gallon per person per day for several days, according to Ready.gov.
- Freshness: Replace water you bottled yourself every six months. Keep store-bought water sealed in its original container in a cool, dark place.
- A hidden supply: FEMA notes that a typical water heater holds 30 gallons or more of clean water. To use it, turn off the electricity or gas to the heater, close the supply valve, open a hot water tap to let air in and drain it from the valve at the bottom with a short hose or a shallow pan. Let the tank refill before you turn the power back on.
Caution: Water from the heater may be very hot. Let it cool before you handle it.
The Takeaway: A gallon a day per person, and know where your backup supply is.
Phase 3: Food
Goal: Keep several days of food that needs no cooking.
- What to pick: Ready-to-eat canned or dried meats and tuna, fruits, juices and vegetables. High-energy foods like peanut butter, cereal and breakfast bars work best.
- Tools: A manual can opener and scissors or a knife for opening pouches. Add disposable plates, cups and utensils.
- Special needs: Food for babies, special diets and food allergies, plus food for pets and service animals.
- Storage: Pack food in plastic bags to keep it dry, and keep a list of dates to check and replace items.
The Takeaway: Food you already eat, that keeps and needs no stove.
Phase 4: First Aid, Light and Papers
Goal: Cover injuries, darkness and paperwork.
- First aid: Bandages, washcloths, soap, antiseptic cream and a pain reliever. Add a list of medical conditions and prescription medicines. Part 4 of this series covers medicines in depth.
- Light and news: A battery or hand-crank flashlight and radio, with extra batteries. FEMA advises against candles, which easily cause fires. A weather radio with a tone alert is best.
- Copies of important papers: Phone numbers, family records, insurance and financial documents, IDs, Social Security cards and immunization records for people and pets. Our guide to safeguarding critical documents explains how to store them.
- Extras: A whistle to signal for help, a wrench or pliers to turn off utilities, sanitary supplies and diapers.
The Takeaway: Flashlights over candles, and copies of the papers you would hate to replace.
Phase 5: Keep It Ready
Goal: Make sure the kit works when you need it.
- Check dates at least every 6 months.
- Tell everyone where the kit is.
- Add a little at a time. One item each shopping trip builds a full kit without a big bill.
For a complete list, see our emergency supply kit guide.
The Takeaway: Check it twice a year, and grow it a little at a time.
The Essential Kit Checklist
- Container: One bin, bag or bucket everyone can find.
- Water: One gallon per person per day for several days.
- Food: Several days of no-cook food, plus a manual can opener.
- First aid supplies and a list of medicines and conditions.
- Light: Flashlight, radio and extra batteries. No candles.
- Papers: Copies of IDs, insurance and records in a waterproof bag.
Scenario Planner (Contingencies)
The trap: You put off the kit until you can afford to buy it all at once. The fix: Hold the scavenger hunt today and add one item each week.
The trap: The water in the kit has been there for years. The fix: Replace water you bottled yourself every six months, and use the water heater as a backup.
Frequently Asked Questions
How can I build an emergency kit on a budget?
Start with what you already own. Most kit items, from water containers to flashlights and a first aid box, are already somewhere in your home. Gather them in one bag or bin, then add a few items each shopping trip.
How much water should I store for an emergency?
Ready.gov says to store at least one gallon of water per person per day for several days, for drinking and sanitation. Replace water you bottled yourself every six months.
Can I use my water heater as an emergency water source?
Yes. FEMA notes a typical water heater holds 30 gallons or more of clean water. Turn off its power or gas first, close the supply valve and drain it carefully, because the water may be very hot.
Next Steps
- Hold the scavenger hunt with your family this weekend.
- Read Part 2: Hunting home hazards.
- Go back to the series overview.
Hero photo by Steven Ungermann on Unsplash.
Adapted from FEMA Emergency Management Institute (public domain). Read the original: Community Preparedness: Simple Activities for Everyone, Handouts (FEMA IS-909).